Take Ownership of Windows Folder and Files

What you need to know before taking Ownership of Files and Folders

Taking ownership of files and folder is an easy thing to do. Instructions are all over the internet that even a regular Windows user will find it simple and effortless. But have you ever wonder why you need to do this and it’s effects? Now before you take the ownership of all folders in your PC (please don’t!), I will share some information about taking ownership of files and folders.

Concept of File and Folder Ownership

The owner controls how permissions are set and to whom permissions are granted on the files and folder. By default, the owner would be the user who created the object. In simple terms, if you created a folder then by default you become the owner of that folder and having ownership means you get to decide who can access the folder and gives you the power to transfer the ownership to another user.

Who can take and transfer ownership

As mentioned above, the default owner, the user who created the file or folder can transfer the ownership. But aside from the owner, other user or group with certain permission can also take the ownership. These are:

  • Member of the Administrators group
  • A user with taking Ownership permission
  • Member of the Backup Operators group

Why do you need to take the ownership?

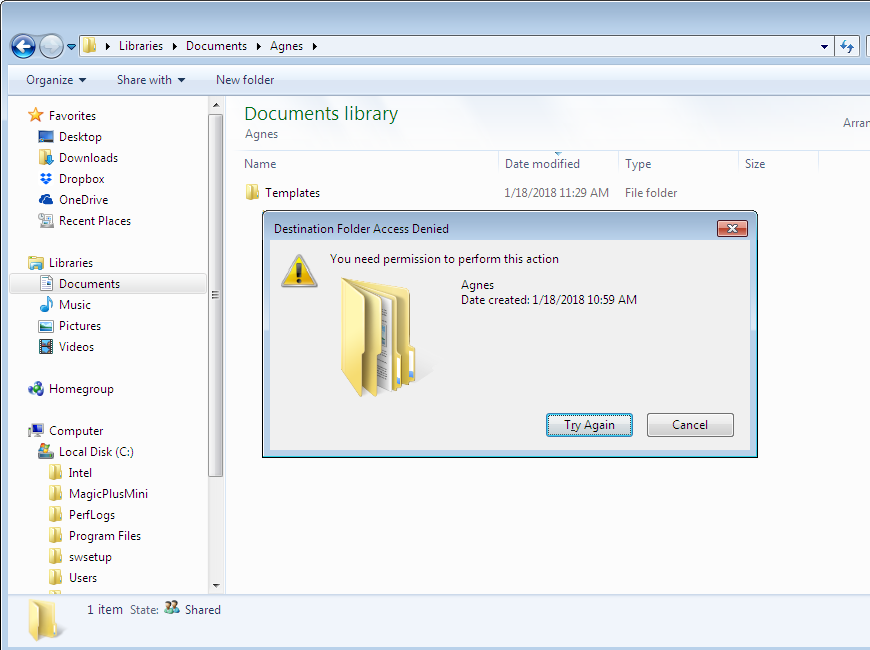
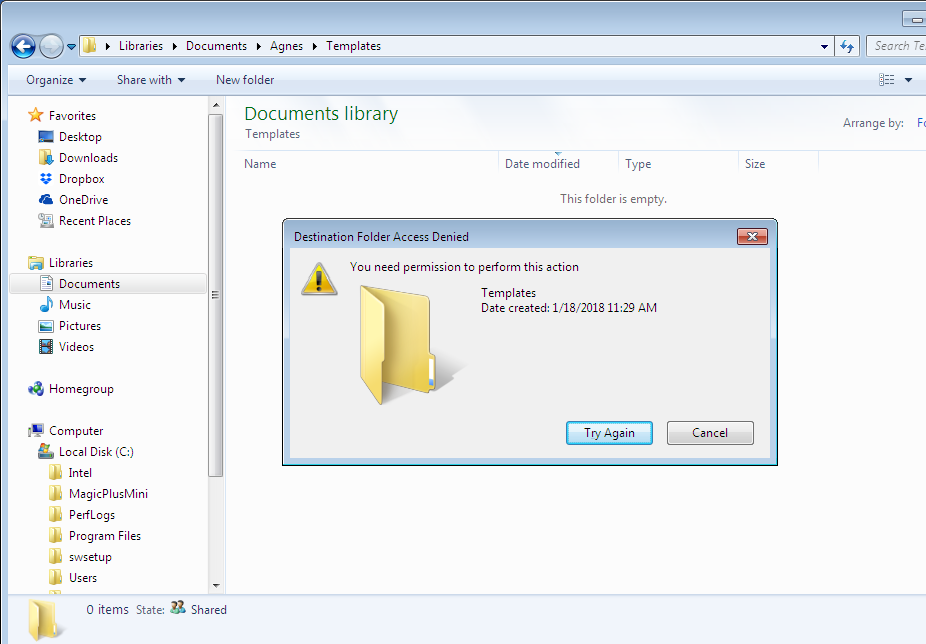
Because you can! Just kidding! Have you tried deleting or renaming a folder but you get access denied? That’s most likely caused by lack of permission, and being the owner of the folder allows you to do some changes on that folder. This is just an example why taking ownership is needed, and I’ve listed couple more examples below.

  • You connect an external drive from another PC, and you’re denied access to the folders
  • Upgraded from Windows 7 or 8 to Windows 10 and you wish to delete Windows.old folder to free up some space
  • You attached the 2nd disk to your PC. The disk used to be a system drive (with OS Installed), and you’re denied access to the folders
  • Make changes to system files (example: replace a bad .dll file)
  • Manage files or folder owned by the user account that’s already deleted

How to take ownership of the files and folders?

Here I will show you how to do it via GUI. There is also a built-in command line tool in Windows called takeown.exe if you want to do it via command line.

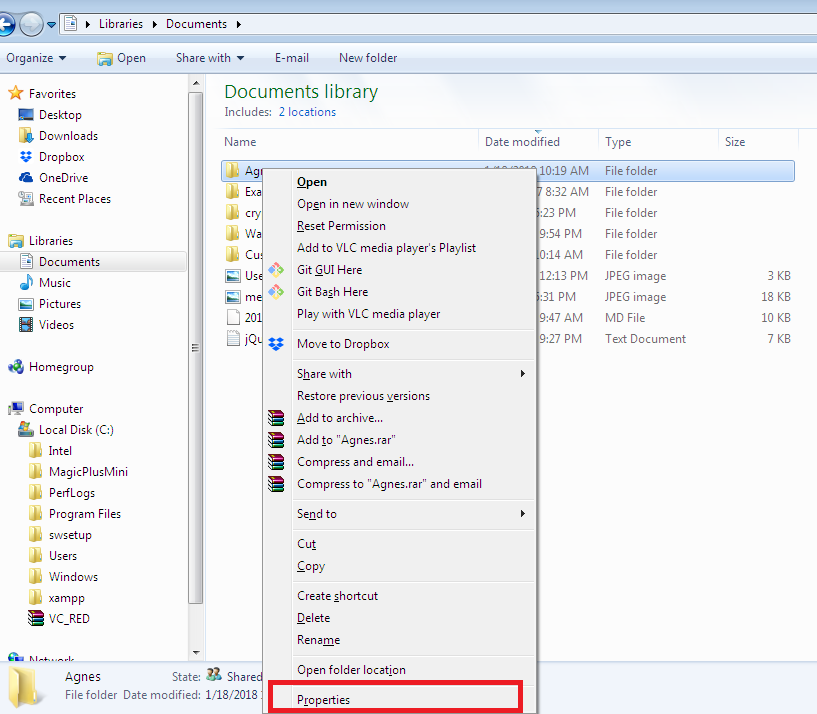
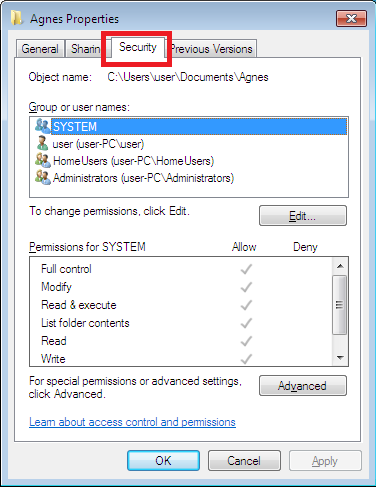
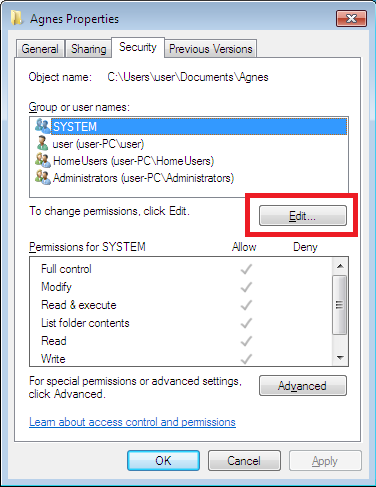
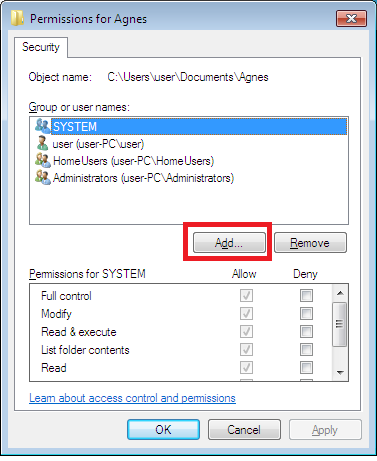
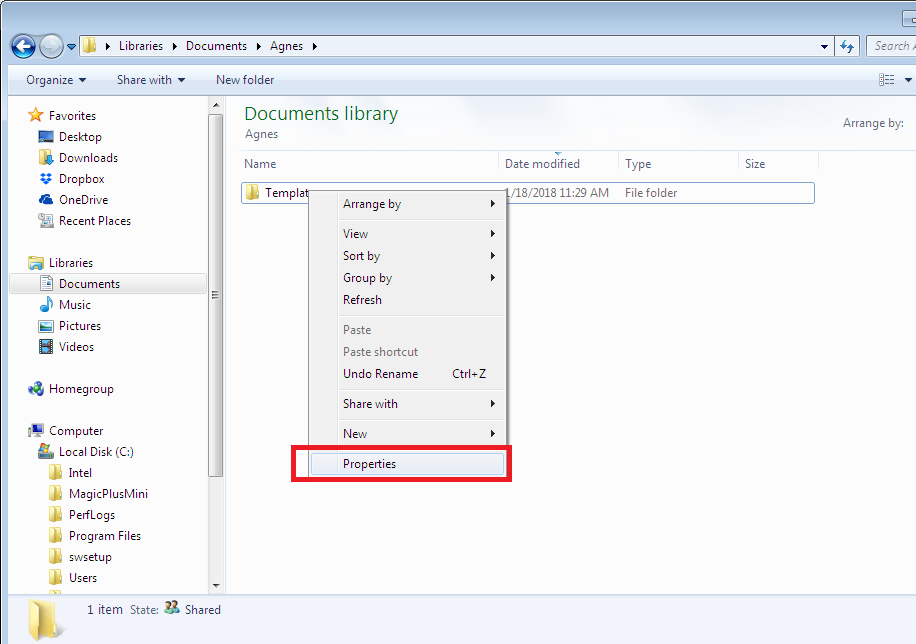
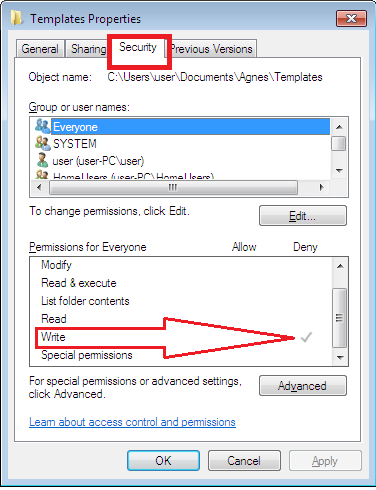
In this example, we will take ownership of the System32 folder. Right-click the folder you wish to take the ownership and go Properties. Click on Security tab and then Advanced

The Advance settings will show you the current owner of the file or folder. Click on Change

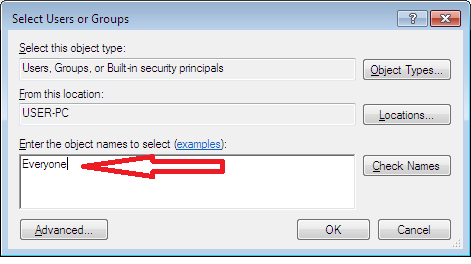
Enter the name of the new owner and click Check Names or click Advanced to find the user.

Once the new user is entered, click OK and now the new owner will be shown. Tick the option “Replace owner on subcontainers and objects” if you also want to take ownership of the subfolders and files. Click OK and you’re done!

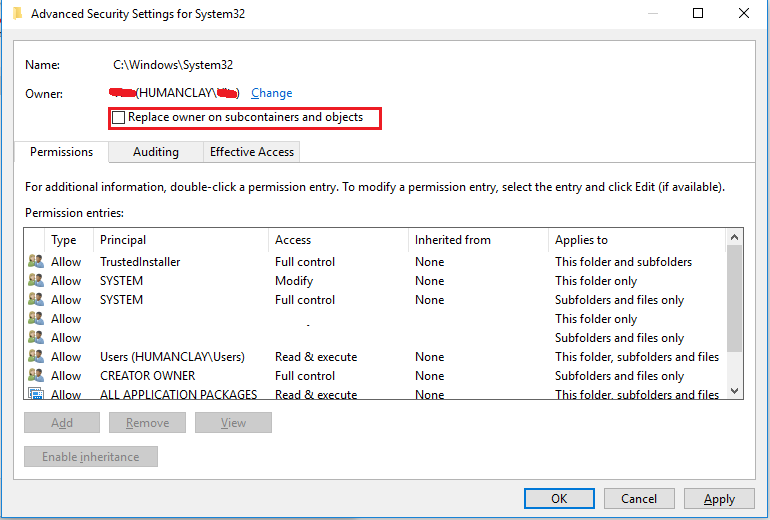
Taking Ownership from TrustedInstaller

Although this article talks about taking ownership of files and folders, it is critical to know that taking ownership from TrustedInstaller can lead to system failure. The TrustedInstaller account is used to secure core operating system files and registry keys so unless you’re very sure of what you’re doing then I don’t recommend messing with this.

Wrapping up!

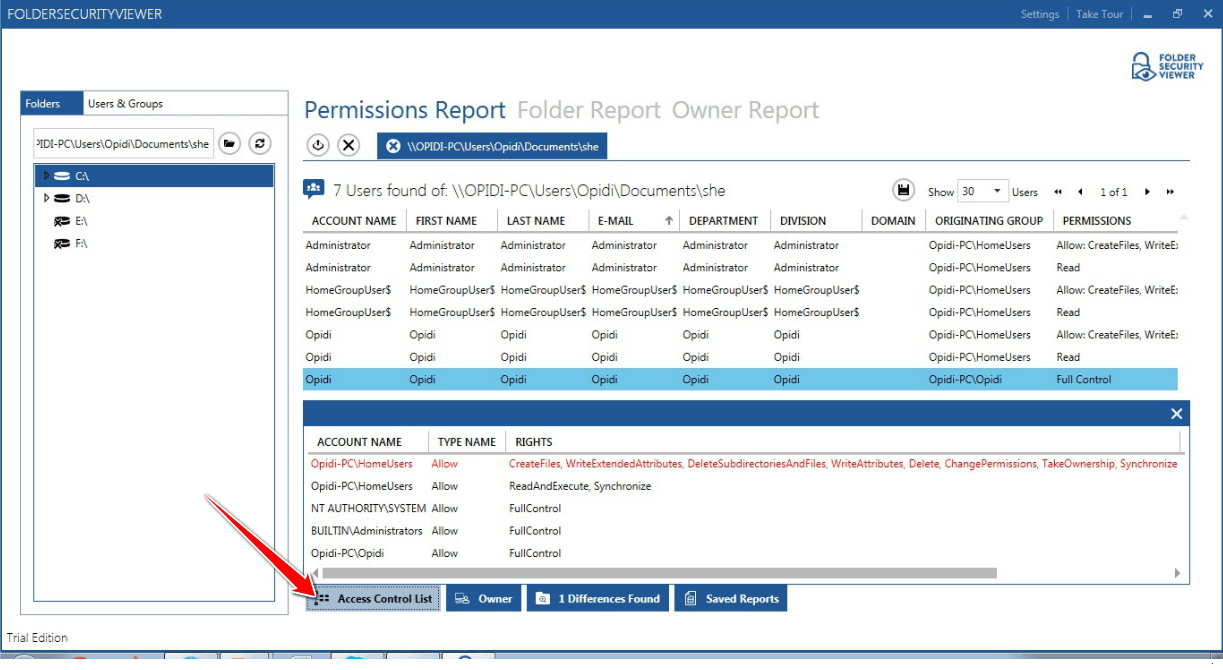
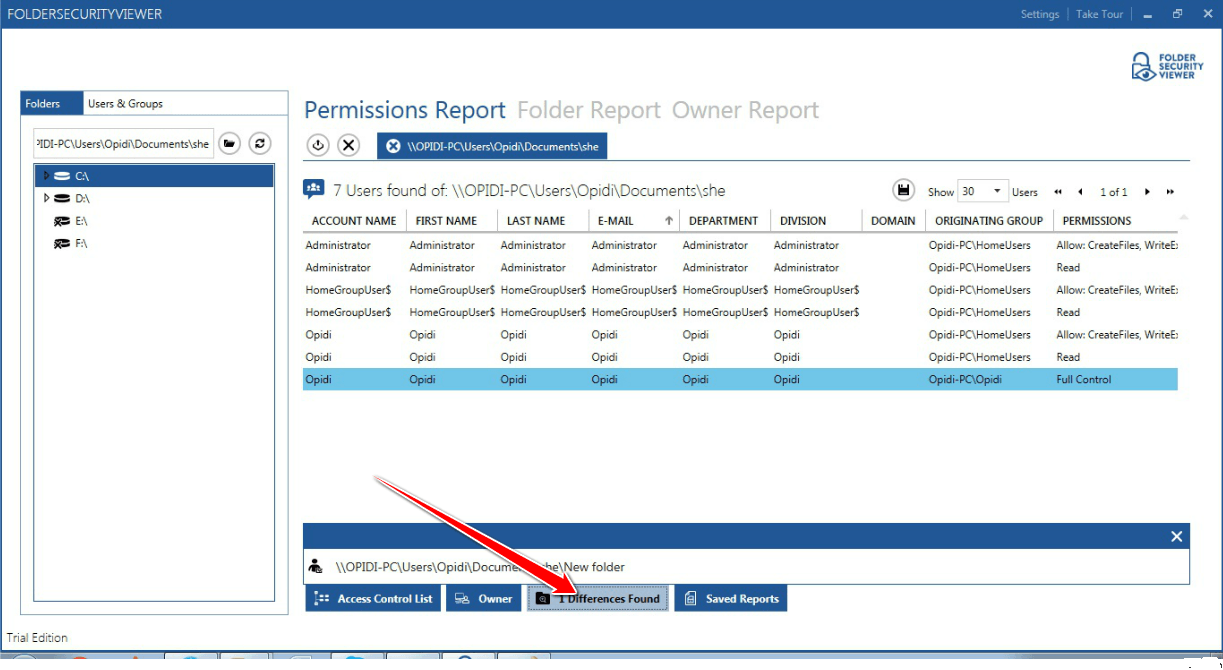
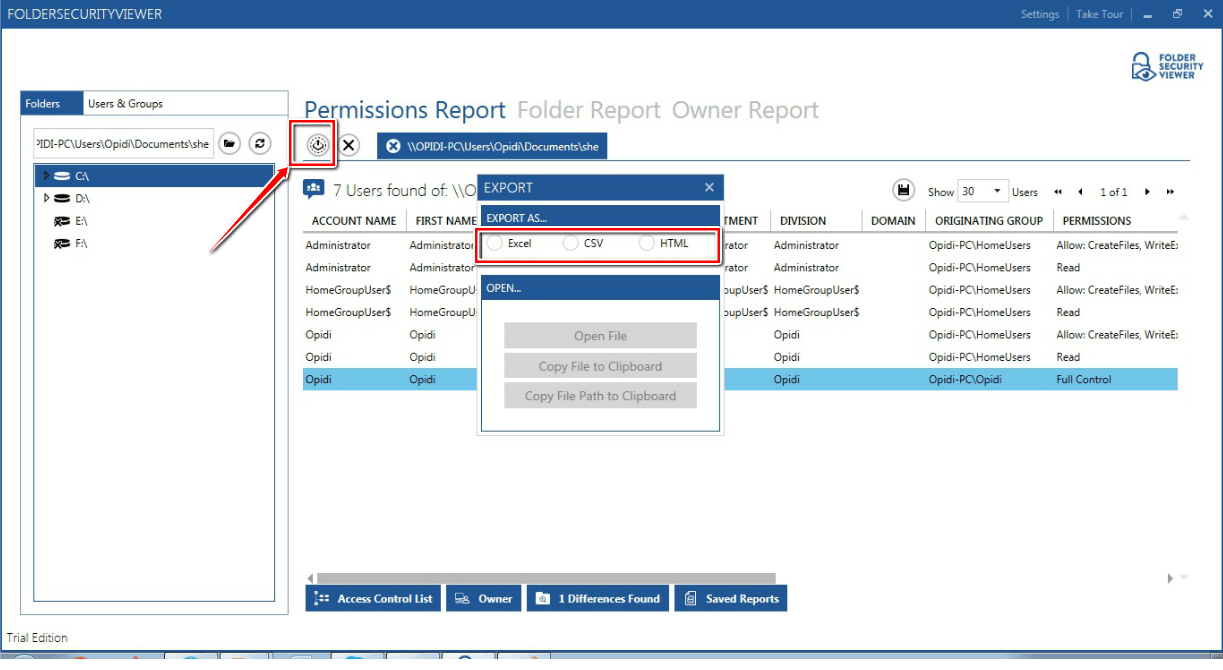
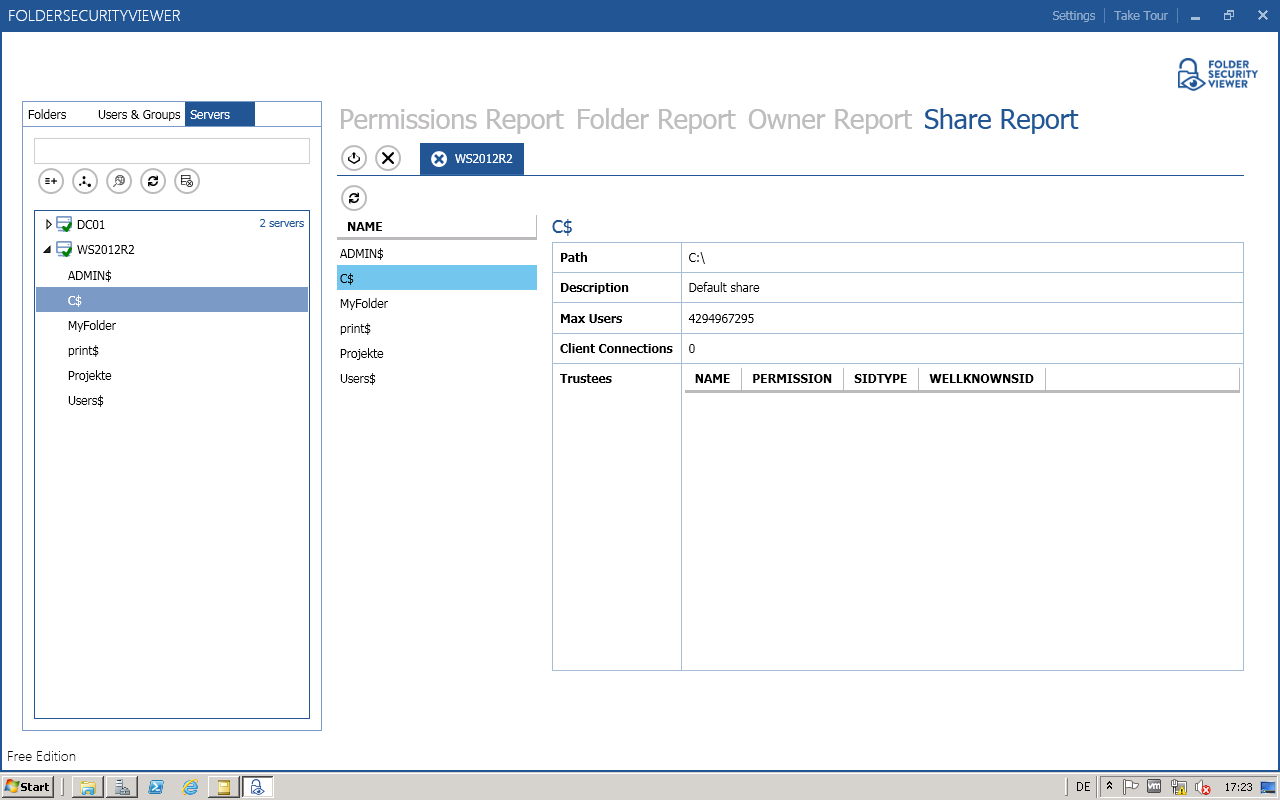
Taking ownership of files and folders will give user capability to override restrictions and allow them to perform the necessary task. However, always take extra precaution when changing the ownership especially on system files. Have I said that already? Well, that’s because I wanted to emphasize this. If you need to change it for temporary access then, by all means, do it but don’t forget to change it back to the original owner (TrustedInstaller) to avoid issues with the Operating System. You might also want to keep track of which folder a user own as some users may have taken ownership of certain folders. If you’re the only user or admin on your PC, then it might not be necessary but for a larger organization, having a tool like FolderSecurityViewer will help you with this task. Be sure to check it out!

Useful Resources


NTFS Allow and Deny Permissions

NTFS (New Technology File System) permissions provide an essential way of maintaining a good level of control to your critical IT infrastructure.

These permissions are normally granted to groups as a way of determining the users able to access the files and folders.

Understanding NTFS Allow and Deny Permissions

When assigning permissions, you will need to specify whether a group or an individual user has access (Allow) or do not have access (not Allow) to the system.

Even though it’s recommended to use the Deny permission sparingly because it can enhance the complexity of administration, there are some situations where its use is necessary and more beneficial.

For example, you can apply explicit Deny permissions to a specific user only when it is essential to overrule the permissions that are otherwise granted for the group to which the user has been added.

In this article, we are going to talk about how to comfortably combine NTFS Allow and Deny permissions.

Permissions Precedence

When different permissions settings have been applied on an object, the system usually tries to resolve the various permissions to establish which ones should take precedence.

Here are some guidelines for solving permissions precedence issues:

1. The “Deny” permissions usually override “Allow” permissions (in most cases).

For example, let’s say that you have a user called Agnes, and in this case explicit permissions have been applied. The first permission is a Deny permission that denies Agnes from accessing the object. And, the second permission allows Everyone to enjoy access.

When permissions are applied to files or folders, the Deny permission will always take precedence. As such, if the system checks the permission list from top to bottom, it first notices that Agnes has been denied, and will not grant her access.

2. Explicit permissions usually override inherited permissions.

Explicit or direct permissions refer to those permissions that are applied automatically after the object is made while inherited or indirect permissions refer to those permissions that are extended to an object for being a child of a parent object.

When explicit permissions and inherited permissions are combined together, the former usually takes precedence.

Let’s say that this time Agnes has been allowed access. Next, inherited permissions have been set to Deny Everyone access. In this case, will Agnes still have access?

Of course, yes.

Even though there is a Deny permission, Agnes will still be given access. Why does it happen this way?

Deny permissions are usually sorted towards the top of the NTFS permissions list. However, explicit permissions are predominant.

In this example, since Agnes has been granted explicit permissions that allow access and inherited permissions that deny access, she will still enjoy access. This is because explicit permissions usually take precedence over the rest.

Also, it’s important to note that if the explicit permissions allow access, then the inherited permissions will never be checked.

As such, if the inherited permissions have Deny permissions applied, and explicit permissions have Allow permissions applied, then the inherited permissions will never be checked, making the Deny permissions irrelevant.

Here is an example that demonstrates how an explicit allow permission will take precedence over an inherited deny permission.

  • On the Windows explorer, right click on the folder named “Agnes” and select the “Properties” option. (Note that the folder has a subfolder named “Templates”).

  • On the properties window, select the “Security” tab.

  • To change permissions, click on the “Edit” button and then press the “Add” button.

  • On the window that pops up, add “Everyone” to the list of permissions.

Once Everyone has been added to the list of permissions, everyone will be granted other permissions, including “Read & execute” permissions—this takes place by default.

  • Consequently, to prevent all users from writing to the folder, uncheck the default Allow permissions and click the Deny permissions for “Write”.

If you press the “Apply” button, a warning dialog box will appear stating that Deny permissions will take precedence over other permissions.

Click “Yes” to continue.

  • After the permissions have been set, if you try to create a new file or folder in the folder or its subfolder, you will see an error message, indicating that access has been denied.

  • The next step is to right click on the “Templates” subfolder and select the “Properties” option.

  • On the subfolder’s properties, select the “Security” tab.

In the permissions list, notice that “Everyone” is present and the Deny permission for “Write” is inherited.

  • For example, if you want to add explicit “Write” permissions to HomeUsers, click the “Edit” button.

Then, on the Window that pops up, click the Allow “Write” permissions, and apply the settings.

Therefore, the subfolder will have Everyone Deny Write permissions that are due to inheritance and the HomeUsers will have Allow Write permissions that are explicit.

  • With these permissions set, you will now be able to create files and folders in the subfolder but not in the parent folder, as shown below.

3. Access permissions that are inherited from neighboring relatives override those inherited from faraway predecessors.

For example, if access permissions have been propagated from the object’s parent folder, then they will be prioritised above those rights propagated from the object’s grandparent’s folder, and to others.

4. Permissions privileges from multiple same-level user groups are cumulative.

If user groups are created at the same level–relating to having the same explicit or inherited permissions or Deny or Allow permissions—then the permissions can be aggregated.

Let say that Agnes belongs to two security groups. One of the groups has given her the Allow permission of “Read” while the second one has given her the Allow permission of “Write”.

Consequently, she will enjoy read as well as write privileges, if the other guidelines above are also taken into consideration.

However, if the user groups are not at the same level, the permissions can cause unnecessary problems, especially if Deny permissions are used.

For example, if Agnes belongs to two security groups: group A and group B. If there is a file share, and members of group A are denied access (Deny permissions applied) while members of group B are allowed access (Allow permissions applied), it can lead to problems.

Since Agnes belongs to both groups, she will now be denied access to the file share, which may not be the required result.

So, how do you deny access to group A members while still allowing access to users belonging to both groups?

The simple solution is to remove group A from the access control list. It ensures they do not access the file share because they lack the required privileges. This way, it will allow only group B members to be granted access.

As a result, users belonging only to group A will be denied access to the file share. And, users belonging to both groups, like Agnes, will be granted access.

Because of such reasons and complexities, most administrators will only apply Deny permissions if there are no other means of achieving the intended objectives.

Conclusion

As you can see, most of the results accomplished using Deny permissions can be conveniently achieved using Allow permissions. Therefore, most administrators try avoiding using Deny permissions—although sometimes it is unavoidable.

In summary, if you have to use Deny permissions, ensure you keep to the following hierarchy of permissions precedence.

(Note that the list starts from the permissions with the highest precedence to permissions with the lowest precedence).

  • Explicit Deny
  • Explicit Allow
  • Inherited Deny
  • Inherited Allow

Useful Resources

Check out our posts about similar topics:

Do you have unclear NTFS Permissions assignments?

Do you have too many special permissions set on your fileservers?

Or blocked NTFS Permission Inheritance?

Protect yourself and your clients against security leaks and get your free edition of the easiest and fastest NTFS Permission Reporter now!

5 Best Free Tools For NTFS Permissions Reporting

NTFS Permissions reporting is a good way of auditing the level of access that users have on files and folders so that maintaining NTFS folder security is enhanced.

Managing folders is a difficult task since it requires constant monitoring of the NTFS permissions to avoid unauthorized access. However, if you have a good tool, you can conveniently present easy-to-read reports listing the permissions granted to a user or a group of users.

Here are five free tools that will save your time and headache by giving you easy-to-read folder permissions reports for your analysis.

1. Tool: NTFS Permissions Reporter

The NTFS Permissions Reporter (the free version) by Cjwdev is an excellent tool that allows you to export file and folder permissions for further reviewing.

You can download the tool from here.

Once installed, you can right click on any folder in your Windows Explorer and select the “Report Permissions” option. Thereafter, you’ll be directed to the tool’s main page for you to see the various permissions associated with the folder.

Here are some of the key features of the free version of the tool.

  • Colorized report results—After selecting the folder you want to view its NTFS permissions by clicking “Add” and clicking “Run Report”, you’ll be presented with a report of the permissions in various colors, allowing you to make a proper analysis. For example, Full Control permission is colored in red while Read and Execute permission is colored in green.

  • Varied reporting formats—depending on your preferences, you can choose either the tree-based or the table-based report format. You can change the format on the “View” tab or by checking one of the radio buttons on the lower section of the tool.

  • Ability to show group members—the tool has option that allows you to view members of groups directly within the released report. You can activate this feature by checking the “Show members of groups” button as well as the associated buttons.

The NTFS Permissions Reporter exports the folder permissions reports as HTML files. Just click the “Export Report” button to export the results.

Here is an example of a report.

2. Tool: Netwrix Effective Permissions Reporting Tool

With this freeware tool, you can easily get comprehensive reports regarding the users with different levels of access permissions in your active directory domain as well as file/folder shares.

You can download the tool from here.

To use the free tool, you’ll need to click the “Add” button.

A window will pop up asking you to specify the network resource for checking its effective permissions—either Active Directory or File Path.

Then, click “Start Scanning” and the results will be delivered in an HTML file.

Here are some of the key benefits of the tool.

  • Gain control over permissions—with the tool, you can view file and folder permissions in a single report, together with details of whether the permissions were allocated explicitly or through inheritance.

To see the inherited permissions in the results report, check the “List objects with inherited permissions” button.

  • Limit excessive permissions—you’ll get comprehensive information you can utilize to revoke unwarranted access rights and therefore ensure users do not gain excessive permissions.
  • Ensure compliance— The Netwrix effective permissions reporting tool can help you gather proof that every permission corresponds with the stipulated employee roles in the organization.

Here is an example of a report generated using the tool.

3. Tool: Permissions Reporter

The Permissions Reporter (the free version) by Key Metric Software is another powerful tool you can use for scrutinizing Windows NTFS file systems.

You can download the tool from here.

Although this tool looks like Cjwdev’s NTFS Permissions Reporter, it has more features and a better-looking interface.

Here are some of its key features.

  • Folder Permissions Tree—to get the folder permissions report, you’ll need to click “New Project” button, and follow the prompts. Thereafter, you’ll be presented with a hierarchical view of the NTFS permissions in various colors on the Folder Permissions Tree, allowing you to make proper analysis.

  • Folder Permissions Report—this section gives a “flat” view of folder permissions, together with advanced sorting, filtering, and grouping options. This way, you can conveniently retrieve the report you want.

  • File Permissions Report—here, you can see files with permissions not inherited or not the same with their parent folder. You’ll also get other advanced capabilities to easily retrieve the report you want.

  • Other Reports—the File Owner Report allows you to assess how users and file types are consuming the available disk space.

And, the Share Permissions Report gives a quick glance on the levels of access accorded to various users.

If you want to export the report data, just click the “Export” button.

The report will be given in HTML file format. Here is an example of a report.

4. Tool: SolarWinds Permissions Analyzer

This is a handy tool that allows you to get instant visibility into the permissions accorded to various users and groups. With this free tool, you can get comprehensive information about NTFS and share user permissions with just a few clicks.

You can download the tool from here.

Although SolarWinds Permissions Analyzer does not allow you to export folder permissions reports, you can achieve several things with it, including:

  • Quickly identifying the level of permissions accorded to a group or a user. To do this, you’ll need to insert the name of the group or user in the “Group or User” section, browse the specific file or folder, and click “Analyze”.

  • Conveniently analyzing how the permissions granted to a user are inherited. If you click the plus button, you’ll get further details on the inherited permissions.

5. Tool: FolderSecurityViewer

This is a versatile, free tool that will enable you to get reliable reports on the NTFS permissions accorded to your folders and shares.

You can download the tool from here.

In terms of ease-of-use and speed, the FolderSecurityViewer is clearly ahead of the other free tools.

Here are some key features of Permissions Report section of the tool:

  • Easy-to-read report—you will be provided with a well-presented report detailing the security settings of the specified folder in your Windows environment. You can also sort the report to get the specific details you require.

For example, you can click the “Access Control List” button at the bottom of the tool, and a window will pop up providing the levels of privileges given to various users.

  • Compare folders—you can trace differences in the security settings existing between the present folder and its lower folder hierarchy.

  • Traverse nested groups— the FolderSecurityViewer will traverse nested Active Directory groups to ensure that all the permissions associated with the folder are reported.
  • Different reporting formats—depending on your preferences, you can export the folder permissions report as excel, CSV, or HTML. Just click the small button at the top of the tool, and the options will pop up. In the free edition only HTML reports are enabled.


  • Exporting —Here is an example of a report in an excel sheet:

FolderSecurityViewer reports the permissions owner in a nice formatted Excel report.

  • Active Directory Group Browser —With this nice feature you can show group members (direct and nested) 
    directly out of your NTFS Permissions Report. Just click any AD group in Access Control List view to show the group members and even walk through all nested Active Directory groups to gather all needed informations. Using this feature every data owner can have a deep insight in given permission structures without the need of using Microsofts built-in tools nor having special permissions to use them.

Show group members (direct and nested) directly in your reports.

  • Save and Load Reports / Compare Reports —These features are only offered in the Company Edition of this tool. Save any report to load it again at a later time for deeper analysis is offered either using the built-in database or by configuring an external database (MS SQL Server). In latter version you can share your reports with other users. Using the Compare Report feature you can compare any saved NTFS Permissions Report to show the differences between them. Here is an example:

Compare any saved NTFS Permissions report and show the differences.

But FolderSecurityViewer offers some more reports in the Free Edition:

  • Share Report— In Share Report you can scan the network for all servers providing share services. You can select Computer Accounts from Active Directory, too or add the servers manually. Selecting a share lists all details and the assigned share permissions. Even you can generate a NTFS Permissions Report from this point.

Lists all shares of a server

  • Folder Report— In Folder Report you can see all sub-folders of a specific folder, as well as their owner, size and file count, in a flat list.

list all sub-folders of a specific folder, as well as their owner, size and file count, in a flat list.

  • Owner Report— In Owner Report you can see all folders within a specific share or folder where the owner of it is a specific user. Here you first select a user principal from Active Directory, and then select a share or a folder where to search.

List all folders with a specific owner set.

Conclusion

The security of the data in your network is important. With a good NTFS Permissions reporting tool, you can easily identify the level of access privileges accorded to different users, allowing you to proactively prevent misuse and data breaches.

With any of the above free tools, you can conveniently stay on top on the permissions granted to users and guarantee the safety of your network.

Prevent Unauthorized Access to Sensitive Windows Folders!

If you want to give FolderSecurityViewer’s Free Edition a try, you can request your download here: NTFS Permission Reporter

What’s the Best Practice in Using NTFS Permissions and Share Permissions?

What is the best practice in combining NTFS Permissions and Share Permissions?

This is a common question asked by most users, even Administrators.

Read here for an answer!

Read more

NTFS Permissions: How to Allow Creation of Files But Not Subfolders

Is there a way of allowing users to add files to a given folder but not subfolders?

It’s easy!

Just take care of a single NTFS Permission.

In this article, we’ll show you how.

Read more

How to Reset NTFS Permissions Using a Simple, Free utility

Do you need to reset the NTFS Permissions of a file or folder?

Tired of using command line tools?

Here you’ll find a How To guide on how to use an easy-to-use UI tool that gets you covered!

Read more

Copying and Moving Files and Folders on NTFS Partitions

What happens to NTFS permissions if you copy or move the files or folders? The answer is: it depends. Read more to learn what happens!

Read more

A Simple Guide to NTFS Permissions vs. Share Permissions

What is the difference between NTFS permissions and Share Permissions?

How do they work together?

Read more on how to use them correctly!

Read more

Windows Share Permissions

What are Share Permissions? What permissions can I apply? And how do I share folders? Read more to answer these questions!

Read more

Working With NTFS Permissions

How do I assign NTFS Permissions and how do I remove NTFS Permissions? Whats about special permissions? And how do I disable NTFS permission inheritance? How do NTFS permissions assigned to folders and to files combine? Read more to get an insight!

Read more