
How to Configure NTP Server on Windows Server 2019
Network Time Protocol (NTP) runs on the Transport Layer port 123 UDP and enables accurate time synchronization for network computers. This irons out time inconsistencies on servers and clients during file logging or replication of server databases among other resources.
In this article, we’ll outline the process of installing, configuring, and querying an NTP server on Windows Server 2019.
NTP Server
NTP servers utilize the Network Time Protocol to send time signals to servers across the globe upon request. NTP servers use the Universal Time Coordinated (UTC) time source for time signal synchronization.
The main purpose of NTP servers is to provide time synchronization for servers and computer networks with other major network servers and clients across the globe. In turn, this streamlines communications and transactions all over the world.
Installing and Configuring an NTP Server on Windows Server 2019
The process of installing, configuring, and querying an NTP Server on Windows Server 2019 is quite straightforward.
Set the NTP service to Automatic option
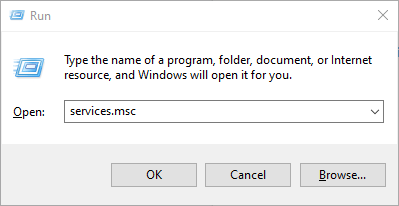
To start off, Hit Windows Key + R to launch the Run dialogue. Next, type services.msc and hit ENTER.
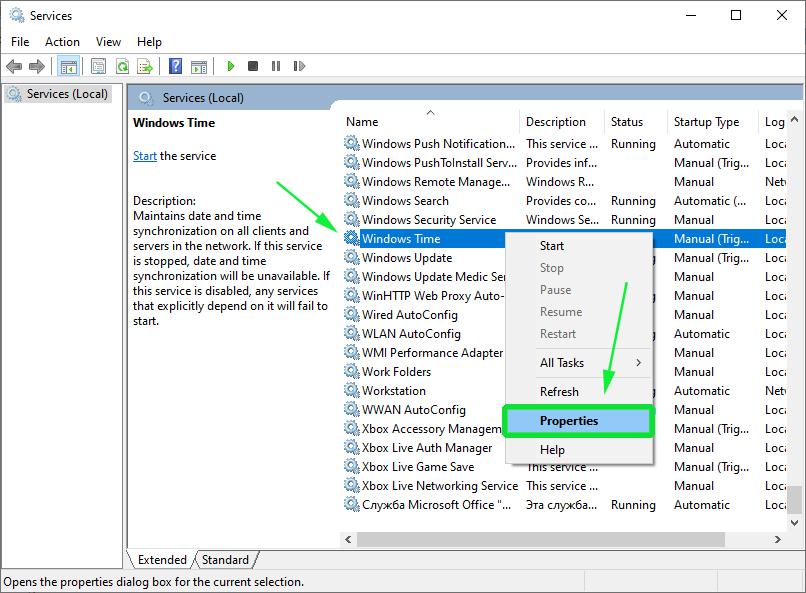
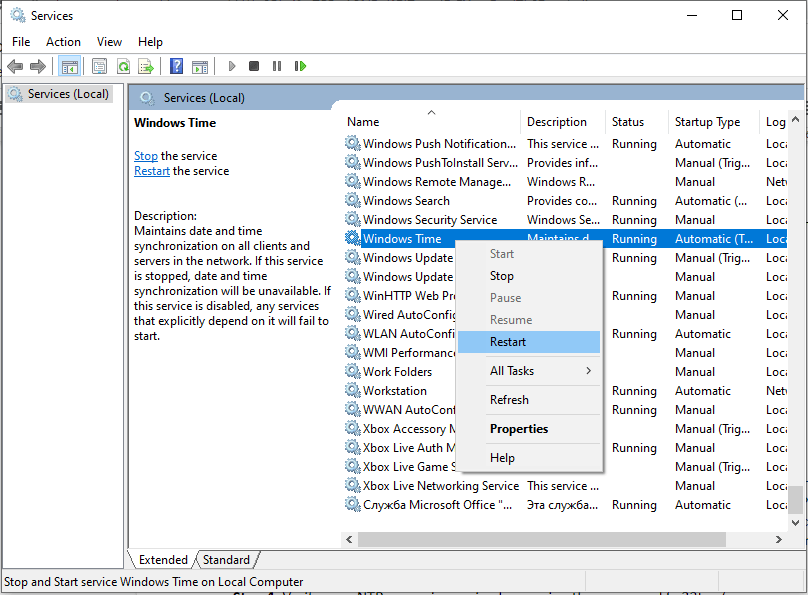
In the ‘Services’ window, locate the service ‘Windows Time’. Right-click and select the ‘Properties’ option as shown:
On the pop-up window, select the Startup type as ‘Automatic’.

Finally, click on ‘OK’ and then ‘Apply’.
Configuring NTP Server using Registry Editor
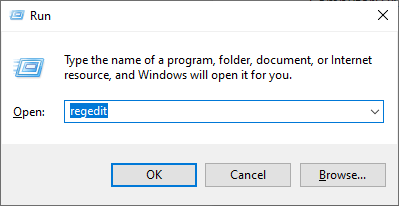
As before, launch the run dialogue by pressing Windows Key + R. Then type ‘regedit’ and hit ENTER.
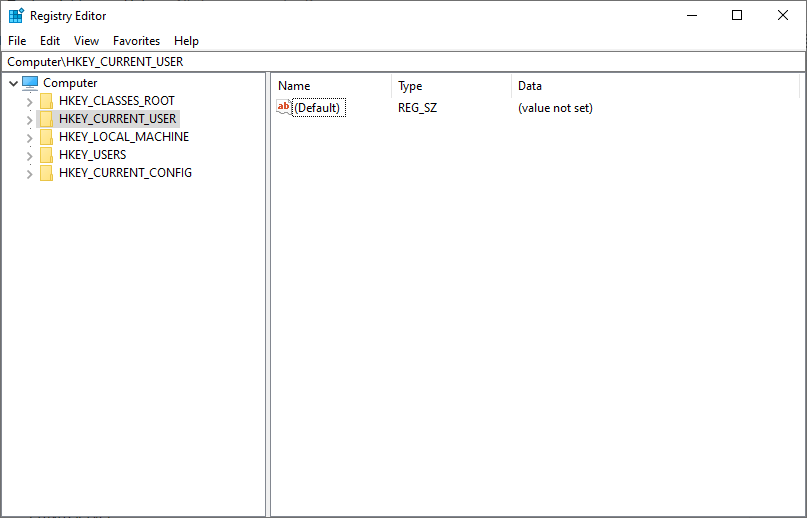
The Registry editor will be launched as shown:
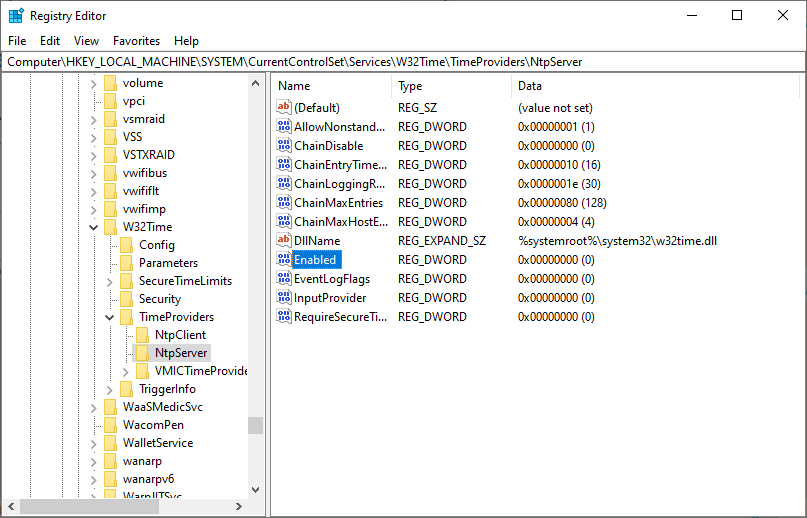
Navigate to the path shown below:
Computer\HKEY_LOCAL_MACHINE\SYSTEM\CurrentControlSet\Services\W32Time\TimeProviders\NtpServer
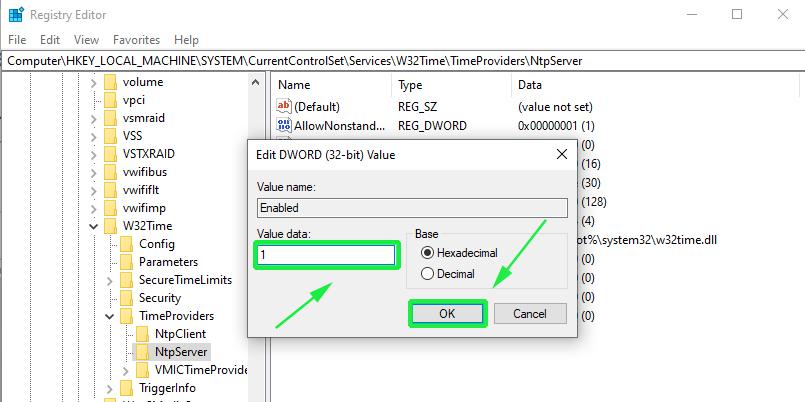
On the right pane, locate and double-click the ‘Enabled’ file as shown:
Set the Value data to 1 and click OK.
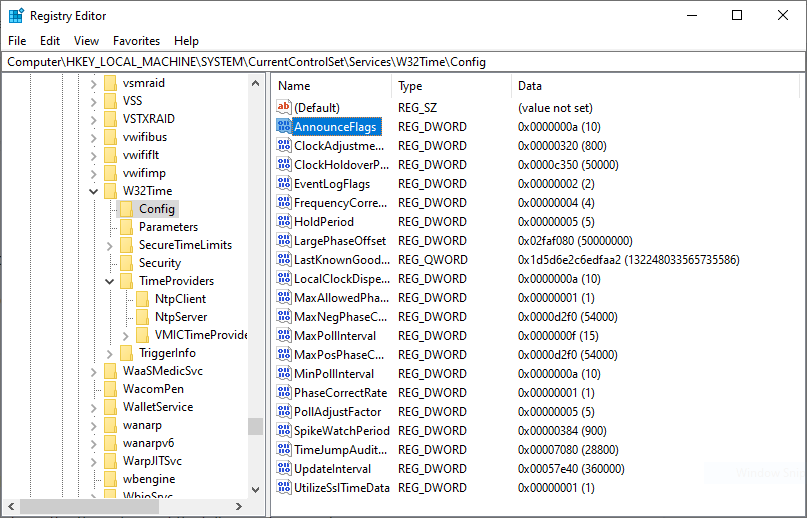
Next, follow this path.
Computer>HKEY_LOCAL_MACHINE>SYSTEM>CurrentControlSet>Services>W32Time>Config
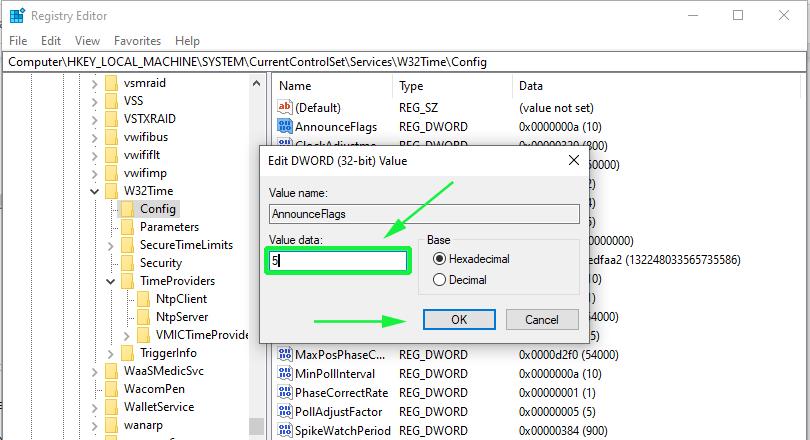
At the right pane locate the ‘Announce Flags’ file.
Double click on the file and set its value to 5 in the ‘Value Data’ section.
Finally, reboot the NTP server for the changes to take place. Head back to the services Window, right-click on ‘Windows Time’ and select ‘Restart’
Configuring NTP Server on Windows 2019 using Windows PowerShell
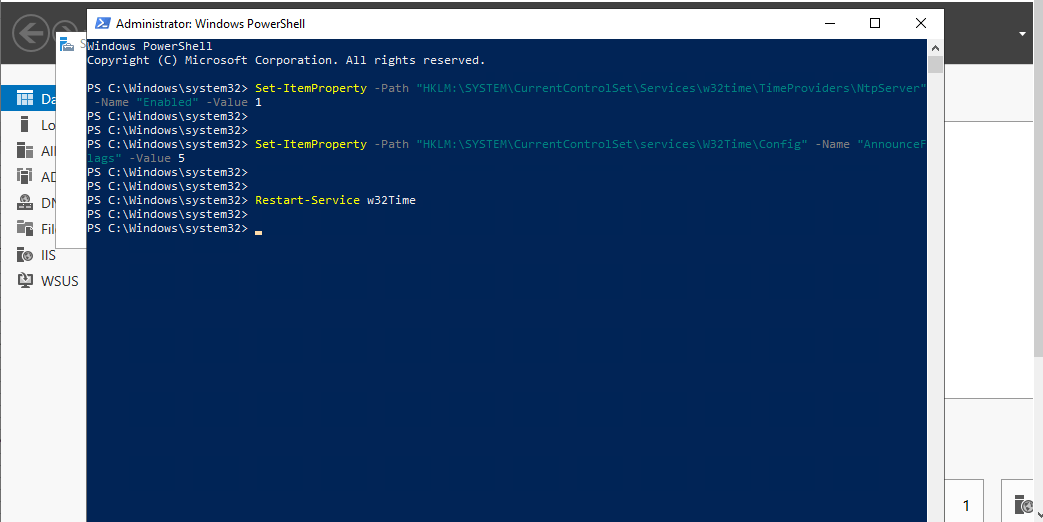
If you love working in Powershell, launch Powershell as Administrator and enable NTP server using the command:
Set-ItemProperty -Path “HKLM:\SYSTEM\CurrentControlSet\Services\w32time\TimeProviders\NtpServer” -Name “Enabled” -Value 1
Next, configure Announce Flags value as shown:
Set-ItemProperty -Path “HKLM:\SYSTEM\CurrentControlSet\services\W32Time\Config” -Name “AnnounceFlags” -Value 5
Finally, restart the NTP server using the command:
Restart-Service w32Time
Important Note: UDP port 123 must be open for the NTP server traffic to reach your Windows Server 2019. If the NTP servers are unreachable, you can check your firewall settings to fix this.
Other useful commands
- w32tm /query /configuration to check and shows the NTP server configuration.
- w32tm /query /peers for checking the list of NTP servers configured alongside their configuration status
- w32tm /resync /nowait to force-synchronize time with your NTP server.
- w32tm /query /source to show the source of the time.
- w32tm /query /status to reveal NTP time service status.
Final take
Now your Windows Server 2019 clock is synchronized with time the NTP server’s pool.ntp.org and works as NTP client. You can achieve full network and accompanying infrastructure time synchronization by synchronizing all network workstations, servers, routers, hubs, and switches.
Since NTP servers operate over the UDP protocol using TCP/IP, these network infrastructures must be working efficiently for effective NTP server operation. In case you want to make time servers on windows server 2019 hosted on a virtual machine, you should disable the virtual machine time synchronization settings and sync their time with the domain Windows Server 2019.


Leave a Reply
Want to join the discussion?Feel free to contribute!