
How to install and Configure OpenSSH Server on Windows Server 2019
OpenSSH is a secure protocol that allows remote login to servers and network devices in an encrypted tunnel. OpenSSH came to replace insecure protocols such as telnet and rlogin.
In this guide, we will demonstrate how you can install OpenSSH on Windows Server 2019.
You can install OpenSSH using the standard Windows interface. Alternatively, if you love running commands, Windows PowerShell will also come in handy.
How to install OpenSSH using the visual interface
To start off, press CTRL + I on your keyboard to launch Windows settings.
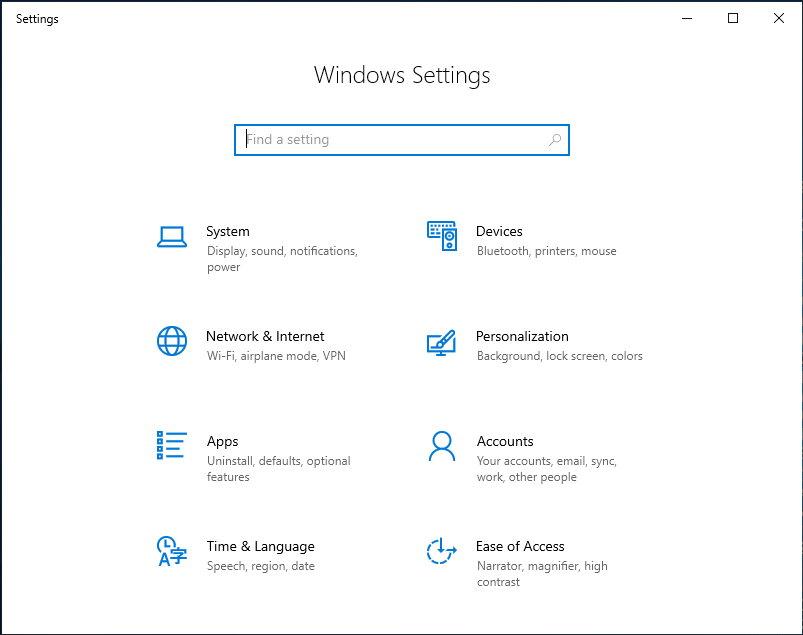
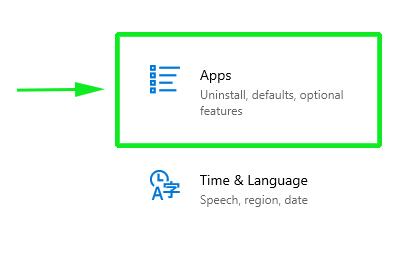
Next click on the “Apps” option as shown:
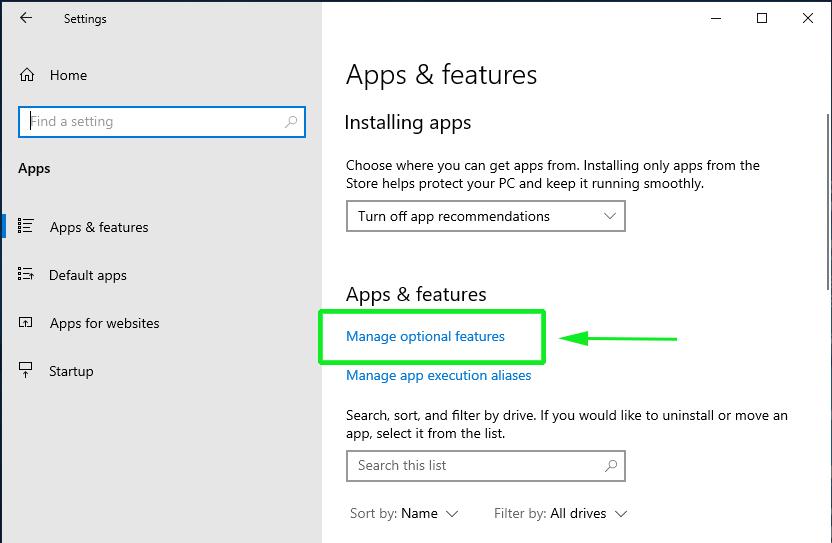
In the “Apps and Features” window, click on “Manage optional features”
This brings you to the “Manage Optional Features” window, as shown:
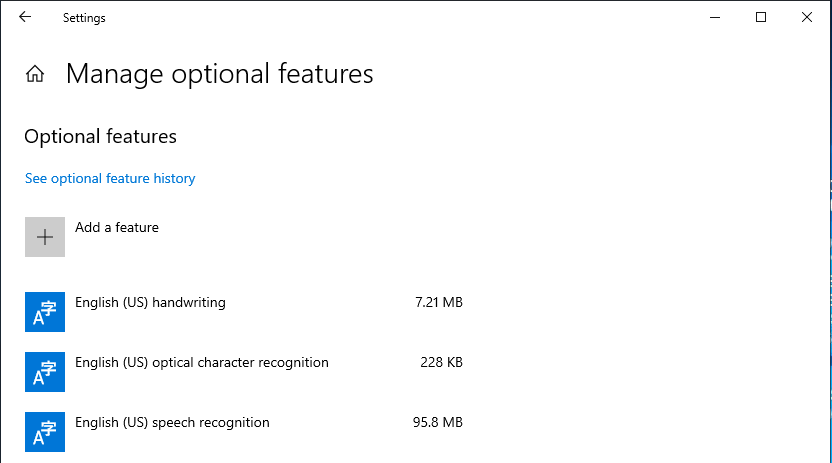
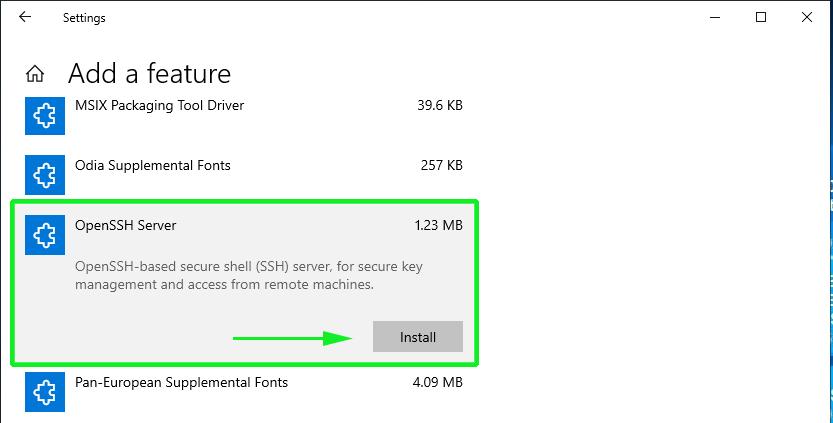
Click on the “Add a feature” button.

Scroll and locate the “OpenSSH Server” feature and click the “Install button” as shown below:
It will take only a short while for the OpenSSH service to be installed on your Windows Server 2019 system.
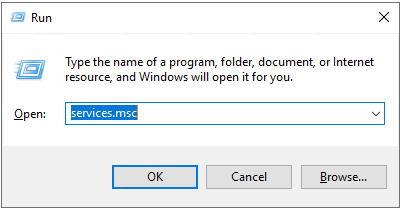
Once installed, you need to start the service. To do this, press
Windows Key + R to launch the “Run” window. Type ‘services.msc’ and hit ENTER.
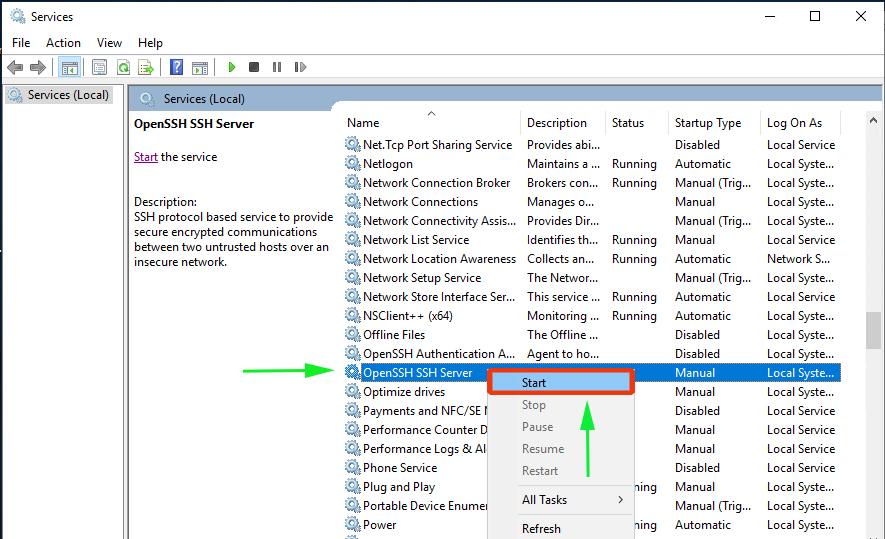
On the “Services” window, scroll and locate the OpenSSH service option in the list of services.
Right-click and click on “Start”,
With the SSH service now running, you need to open Port 22, which is the default port associated with SSH, on the Windows Defender firewall.
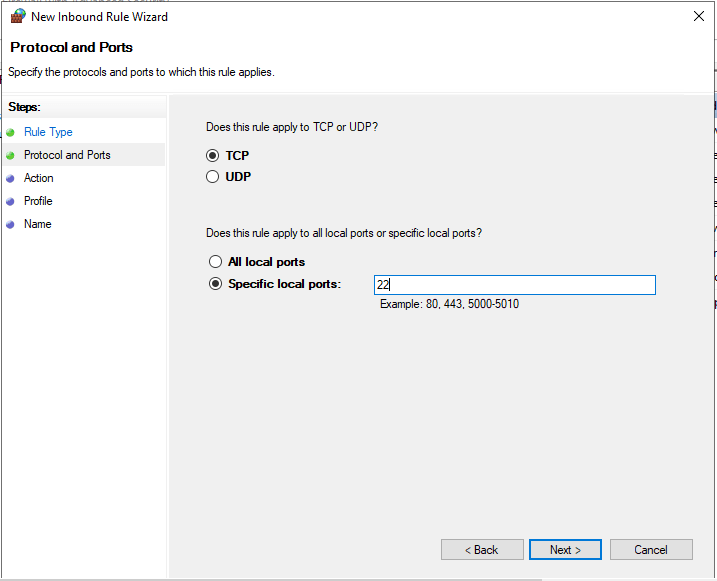
The significance of opening port 22 is so that you can log in remotely to the server using the SSH protocol. If the port is blocked, you will definitely not have access to the server.
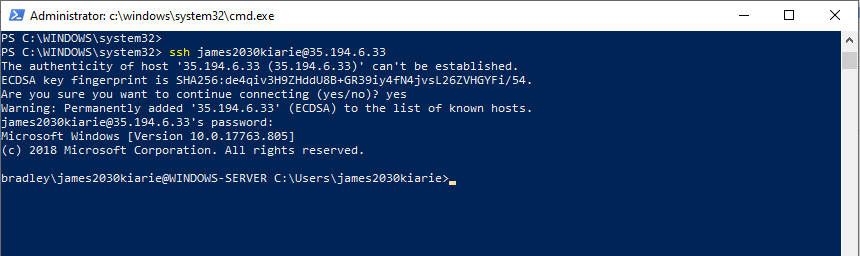
After opening port 22 on the firewall, now try to connect SSH to the server.
C:\Users:user>ssh Administrator@server-IP address
If you are connecting for the first time, you will get the prompt below. Type yes. You will next be asked for a password. Type the Administrator’s password and you will thereafter be logged in to the server.
How to install OpenSSH using Windows PowerShell
The shortest and easiest way to install and configure OpenSSH on a Windows server machine is by running commands on Windows Powershell.
First, run PowerShell as the Administrator on the Windows Server machine.
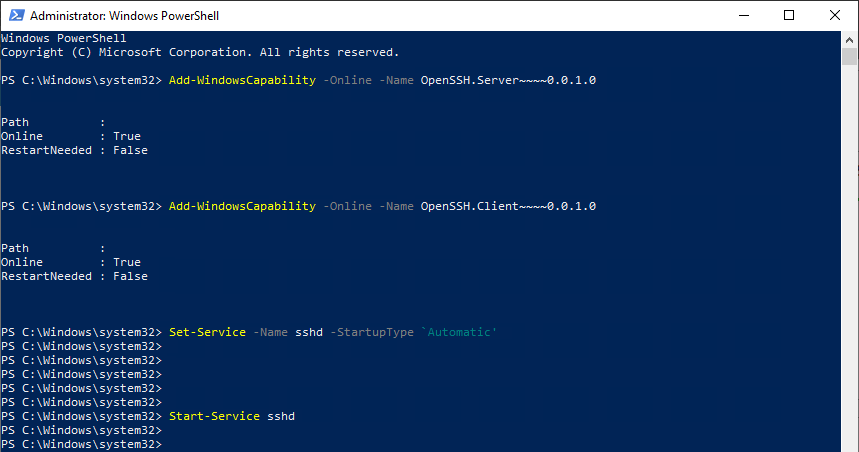
Once you’ve launched PowerShell, run the following commands in succession:
Add-WindowsCapability -Online -Name OpenSSH.Server~~~~0.0.1.0
The command installs OpenSSH server.
Next run:
Add-WindowsCapability -Online -Name OpenSSH.Client~~~~0.0.1.0
This command runs the OpenSSH client.
Next run:
Set-Service -Name sshd -StartupType ‘Automatic’
This configures SSH service to start automatically upon a reboot.
Finally, start the SSH server service:
Start-Service sshd
Below is a screenshot of the commands on a PowerShell terminal:
As before, now try to SSH to the server from either command prompt or a PowerShell Window. And this brings us to the end of this topic. Just like Linux, you can easily configure an SSH service on your machine and provide a secure channel for connecting to your server.


Leave a Reply
Want to join the discussion?Feel free to contribute!